Introduction
If you’re looking to boost your vehicle’s performance and enhance throttle response, learning how to install a kickdown bracket on a Sechardy carburetor is essential. While the process may seem complex initially, with the right tools and a clear step-by-step approach, even a beginner can handle it effectively. This guide offers a detailed walkthrough of the installation process, ensuring you achieve the best results while preserving your carburetor system’s functionality. By following these instructions on how to install a kickdown bracket on a Sechardy carburetor, you can improve your vehicle’s performance and driving experience.
Taking Out the Existing Components
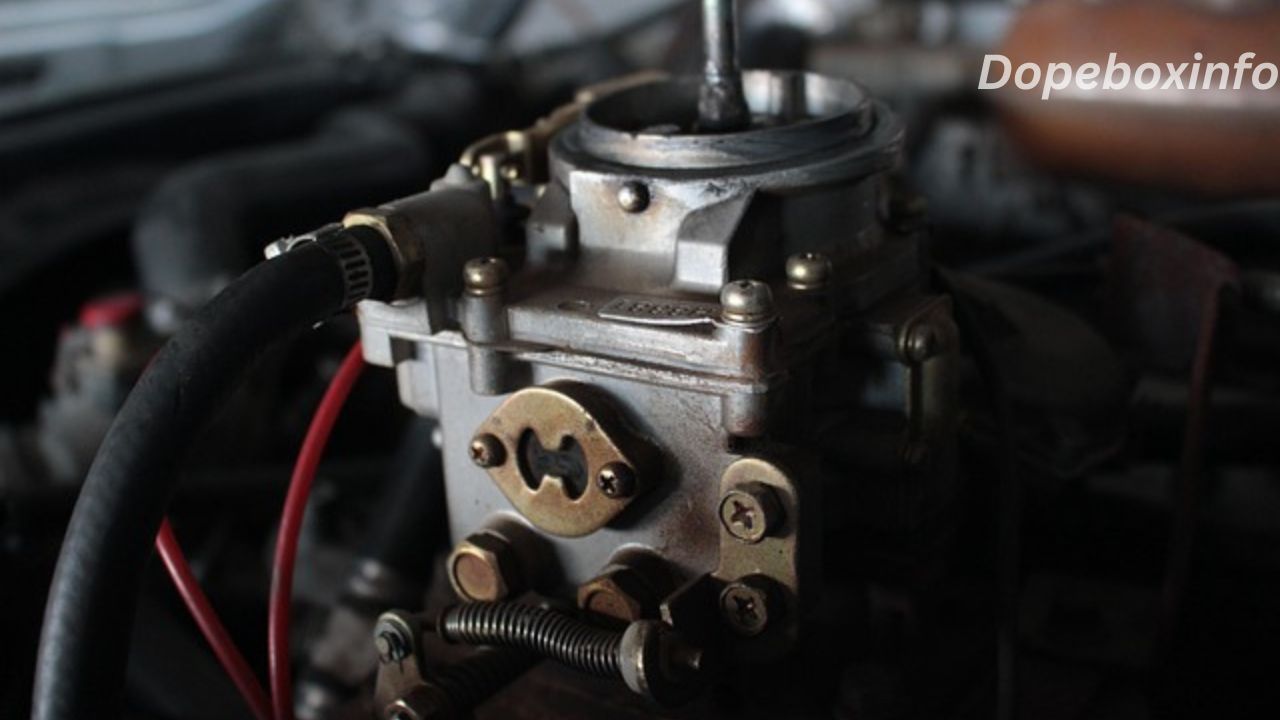
To begin how to install a kickdown bracket on a Sechardy carburetor, you need to remove any existing components that could obstruct the process. Start by detaching the throttle linkage connected to the Sechardy carburetor. Gently loosen the bolts securing the current bracket, if present, and set them aside. Handle all parts carefully to prevent damage to the delicate components of the carburetor.
Once the throttle linkage is removed, inspect the carburetor for any wear or debris. Clean the area thoroughly to ensure a seamless installation. Proper cleaning also helps prevent contaminants from entering the carburetor, which could negatively impact its performance. Following these steps will set a solid foundation for how to install a kickdown bracket on a Sechardy carburetor effectively.
Fitting the Kickdown Bracket
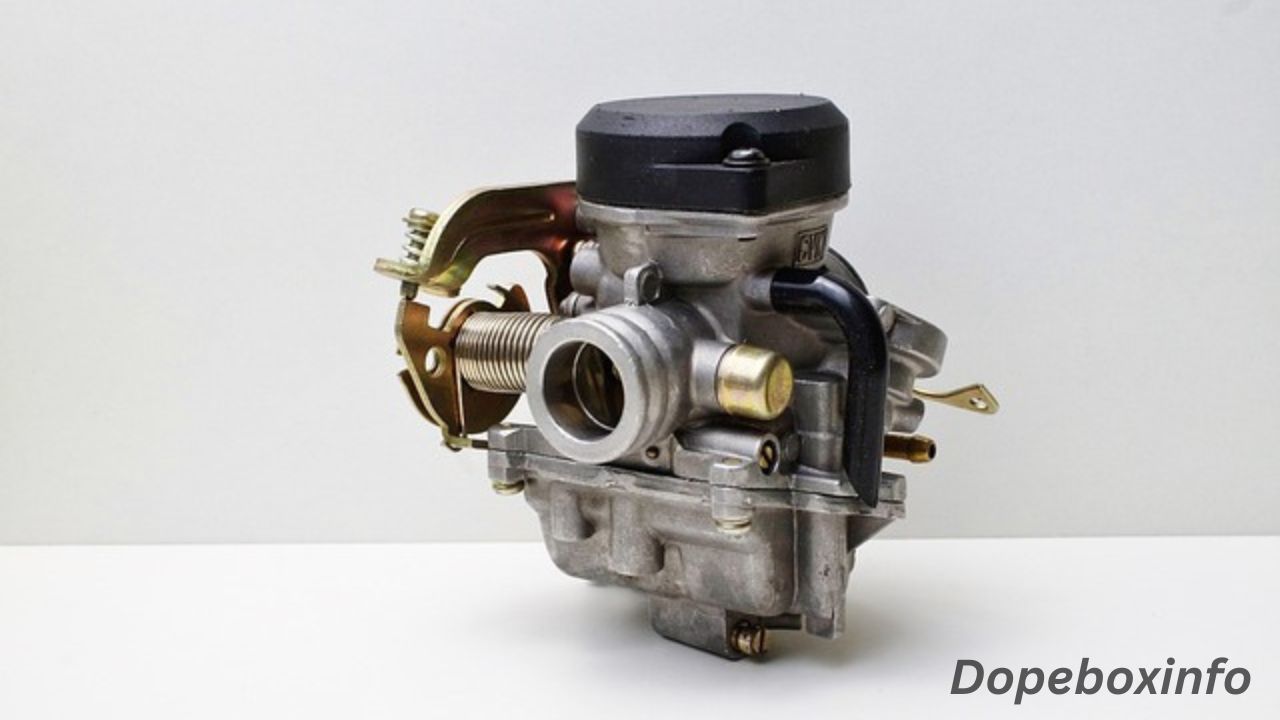
Now comes the essential part of understanding how to install a kickdown bracket on a Sechardy carburetor. Take the new kickdown bracket from your kit and position it over the specified mounting holes on the carburetor. Carefully align the bracket, ensuring it sits flush against the surface for a secure fit. Use the bolts provided in the kit to fasten the bracket. Tighten them evenly with a torque wrench to prevent over-tightening, which could potentially damage the carburetor. Once the bracket is securely installed, double-check the alignment to ensure it doesn’t interfere with any other components. Following these steps will help you successfully complete how to install a kickdown bracket on a Sechardy carburetor.
Reattaching the Throttle Linkage
With the how to install a kickdown bracket on a Sechardy carburetor successfully completed, the next step is to reconnect the throttle linkage. Attach one end of the linkage to the newly installed bracket and the other to the throttle lever on the Sechardy carburetor. Adjust the linkage to the appropriate length, ensuring it moves smoothly without any binding or resistance.
Proper adjustment is critical for the system to operate effectively. Test the throttle movement to make sure it returns to its original position effortlessly. If you notice any stiffness or misalignment, make the necessary corrections before proceeding. By following these steps, you ensure the entire process of how to install a kickdown bracket on a Sechardy carburetor is done correctly for optimal performance.
Verifying the Installation
After completing the installation, it’s crucial to test the setup to ensure everything functions as expected. Begin by reconnecting the battery and starting the engine. Observe the throttle response and check if the how to install a kickdown bracket on a Sechardy carburetor mechanism engages properly when the accelerator is pressed firmly. Take your vehicle for a short test drive to assess its performance. Pay close attention to how the transmission shifts, especially during sudden acceleration. If the system operates smoothly, you have successfully mastered how to install a kickdown bracket on a Sechardy carburetor and can enjoy improved vehicle performance.
Resolving Common Issues
In some instances, you may encounter minor issues after completing how to install a kickdown bracket on a Sechardy carburetor. For example, if the throttle feels stiff, check the linkage alignment and make the necessary adjustments. Similarly, if the kickdown mechanism fails to engage, ensure that the bracket is securely mounted and all connections are tight. Another common issue is improper adjustment of the throttle linkage, which can impact the transmission’s performance. Make small, incremental adjustments and test the system after each change to achieve the optimal setup. Following these steps will help fine-tune how to install a kickdown bracket on a Sechardy carburetor for the best results.
Sechardy Carburetor Maintenance Tips
Mastering how to install a kickdown bracket on a Sechardy carburetor is just the beginning of ensuring long-term performance. Regular maintenance is key to keeping the carburetor and related components in optimal condition. Periodically inspect the bracket and linkage for signs of wear or looseness, and tighten any bolts that may have become loose over time.
Additionally, keep the kickdown bracket clean by using a high-quality carburetor cleaner to remove dirt or deposits that could affect its performance. Regularly checking the transmission fluid levels and quality will also help maintain the smooth operation of the kickdown system. Consistent care ensures that your work on how to install a kickdown bracket on a Sechardy carburetor continues to deliver the best results.
Gather Your Tools and Set Up Your Workspace

- Start by gathering the essential tools: a socket wrench set, screwdrivers, and pliers.
- Make sure you have the correct kickdown bracket for your Sechardy carburetor model.
- Clean the carburetor and the surrounding area to avoid debris interfering with the installation process.
- For safety, disconnect the negative terminal of your vehicle’s battery.
Install the Kickdown Bracket
- Identify the mounting point on the Sechardy carburetor where the bracket will be installed.
- Align the bracket correctly for how to install a kickdown bracket on a Sechardy carburetor, ensuring proper fitment.
- Secure the bracket using the provided screws or bolts, tightening them evenly to achieve a firm, stable connection.
- Attach the kickdown cable to the bracket, ensuring it runs smoothly without tension or obstruction.
Adjusting and Testing the Installation
- Adjust the cable tension according to your vehicle’s specifications to ensure optimal performance.
- Check that the how to install a kickdown bracket on a Sechardy carburetor mechanism operates smoothly by manually pulling the throttle and observing the cable movement.
- Reconnect the battery, start the engine, and take the vehicle for a test drive to confirm the kickdown engages at the right moment during acceleration.
Remove Existing Components
If your Sechardy carburetor already has a kickdown bracket or other components in the way, begin by carefully removing them.
Use the appropriate tools to detach any old brackets or screws without causing damage to surrounding parts.
Keep all parts for reinstallation if needed, but ensure the area is cleared for the new kickdown bracket.
Make sure the bracket does not obstruct the throttle or any other moving components.
Secure the bracket using the screws or bolts provided, tightening them to the manufacturer’s specifications.
Attach the kickdown cable to the bracket, ensuring it has the right amount of slack to move smoothly but still engage when needed.
Conclusion
Knowing how to install a kickdown bracket on a Sechardy carburetor gives you the ability to improve your vehicle’s performance and enjoy a smoother driving experience. By following the steps outlined in this guide, you can confidently install the kickdown bracket and reap the benefits it brings to your automatic transmission system.
Take your time during the installation process, as paying attention to detail is crucial for achieving the best outcome. With proper maintenance and periodic adjustments, your Sechardy carburetor and kickdown system will continue to perform optimally for years to come. Understanding how to install a kickdown bracket on a Sechardy carburetor ensures long-lasting and efficient performance for your vehicle.